Integrate Simple Model
The simple model integration, called custom connection integration, is the fastest way to register a model with AI GO! when the model is served behind a single HTTP/HTTPS endpoint. It covers the majority of LLM and RAG systems as well as classic provider APIs (OpenAI, Anthropic, …).
Use this method of integration when your model satisfies all the following:
- The model is exposed as a single HTTP/HTTPS endpoint.
- Inference is invoked through a single
POSTrequest which returns the model output. - Authentication is handled by a bearer token in the
Authorizationheader or by a custom header. - The mapping between the AI GO! request/response format and the raw endpoint format can be expressed in a Jinja-based model adapter.
- No interactive user confirmation is required to invoke the model.
Custom connection model integration comes with its out-of-the-box benefits: robust rate limiting, comprehensive error handling, powerful debugging options.
Follow the steps below how to integrate such model in the CLI or create it in the UI by clicking on Add Model > Add Custom Model and then selecting Custom connection connection type.
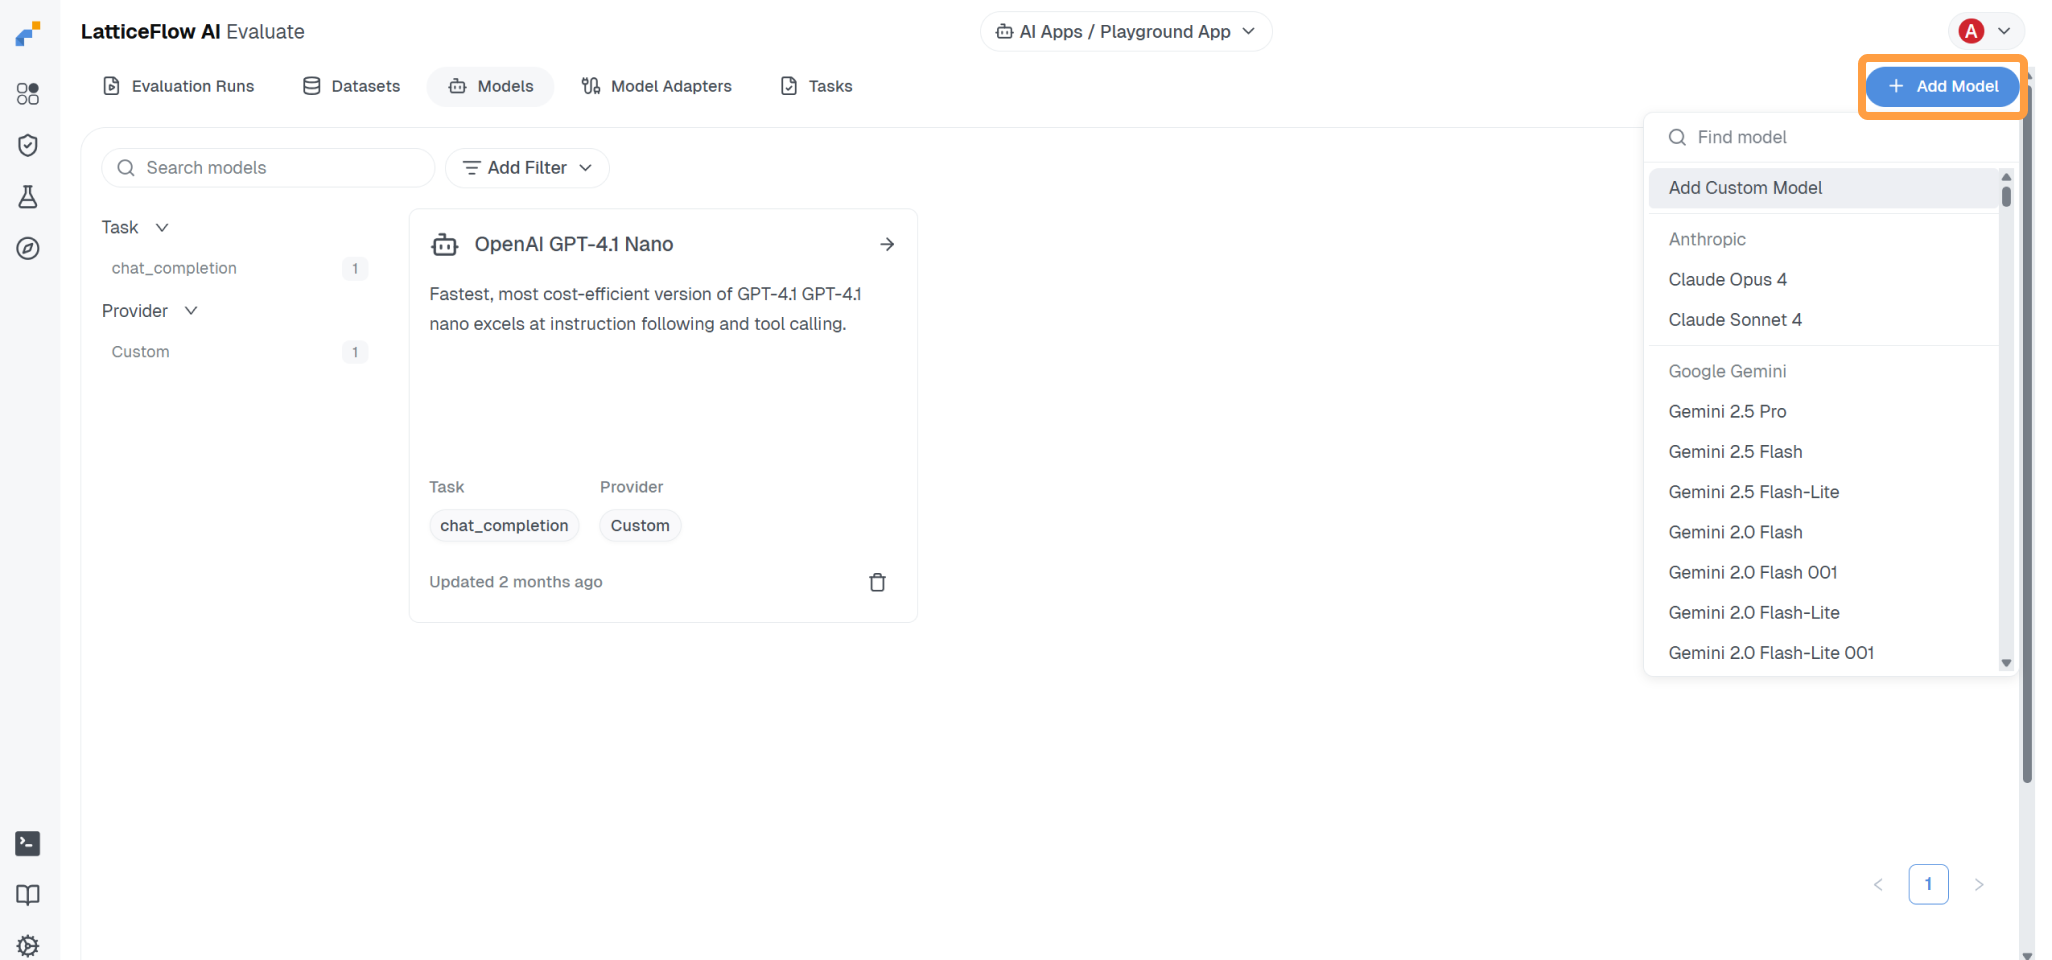
Step 1: Describe Model
Start by describing the model so you and your collaborators can identify it clearly: set a unique key to reference the model programmatically, a human-readable display_name, a short description, and the machine learning task the model performs (an ML task describes the model I/O and its interaction properties).
model.yaml
display_name: "OpenAI GPT-4.1 Nano"
key: "openai-gpt-4-1-nano"
description: "Fastest, most cost-efficient version of GPT-4.1."
task: "chat_completion"
See the Models CLI reference for the allowed ML tasks, key format, and other properties.
Step 2: Configure Connection
Set connection_type to "custom_connection" for models that can be called through a single authenticated POST request to an HTTP/HTTPS endpoint.
model.yaml
config:
  connection_type: "custom_connection"
All fields supported by a custom connection are described in the Models CLI reference.
Step 2.1: Configure Endpoint
Point url at the model endpoint — the HTTP/HTTPS endpoint that runs model inference and expects the input produced by the model adapter in the request body.
Optionally, set model_key for providers where the model used for inference is specified in the request body rather than in the URL or the API key (e.g. such as the model parameter for OpenAI-compatible APIs).
model.yaml
config:
  connection_type: "custom_connection"
  url: "https://api.openai.com/v1/chat/completions"
  model_key: "gpt-4.1-nano"
Step 2.2: Configure Authentication
Configure how AI GO! authenticates with the model endpoint. Two schemes are supported and both should only be used over HTTPS.
Bearer authentication sends a secret token in the Authorization header of every request:
curl <url> -H "Authorization: Bearer <token>" -d '...'Set the token as api_key on the model config — AI GO! adds the Authorization header automatically.
model.yaml
config:
  connection_type: "custom_connection"
  api_key: $OPENAI_API_KEY
Some endpoints expect the token in a custom header such as X-API-Key instead of Authorization — see API keys. The header name is chosen by the provider and the request looks as follows:
curl <url> -H "X-API-Key: <token>" -d '...'Leave api_key empty and pass the token through custom_headers.
model.yaml
config:
  connection_type: "custom_connection"
  api_key: ""
  custom_headers:
X-API-Key: $X_API_KEYBe careful when managing sensitive tokens in YAML files. Reference them either through an environment variable loaded from .env ($API_KEY) or through a server-side secret (<< secrets.API_KEY >>).
config:
  api_key: "API_KEY"  # Exposed as a plain string
  api_key: $API_KEY  # Environment variable from `.env`
  api_key: "<< secrets.API_KEY >>"  # Server-side secret
Step 2.3: Configure Concurrency (Optional)
Cap how aggressively AI GO! calls the model endpoint with rate_limit (i.e. maximum requests per minute) and max_concurrent_requests — start conservatively and scale up only after confirming the endpoint is stable. See the Models CLI reference for field semantics.
model.yaml
rate_limit: 60
max_concurrent_requests: 10
Step 2.4: Configure Security (Optional)
When the model is deployed on your own infrastructure, the model endpoint may present an SSL certificate signed by a private CA rather than a public root. Requests to such an endpoint will fail by default — configure TLS validation through tls_context to address this.
Provide your certificate (or full chain) as a base64-encoded list of PEM certificates under trusted_ca. Multiple certificates are concatenated, each delimited by its own BEGIN/END CERTIFICATE block. You can generate this representation with cat cert.pem | base64 -w 0.
Reference the resulting value through an environment variable, as a file include or a server-side secret, and keep trust_chain_verification: verify_trust_chain so the server certificate is validated against it.
model.yaml
config:
  connection_type: "custom_connection"
  tls_context:
    validation_context:
      trusted_ca: !include "ssl_certificates.txt"
      trust_chain_verification: "verify_trust_chain"
ssl_certificates.txt
-----BEGIN CERTIFICATE-----
<CERT 1>
-----END CERTIFICATE-----

-----BEGIN CERTIFICATE-----
<CERT 2>
-----END CERTIFICATE-----
For local development, you can skip certificate validation entirely by setting trust_chain_verification: accept_untrusted. Do not use this against untrusted systems.
model.yaml
config:
  connection_type: "custom_connection"
  tls_context:
    validation_context:
      trust_chain_verification: "accept_untrusted"
Step 3: Set Model Adapter
A model adapter translates between AI GO!’s canonical model I/O format and the raw payload your endpoint expects. Use a built-in adapter (for example latticeflow$openai_chat_completion for any OpenAI-compatible chat completion endpoint) or define your own when the wire format differs and refer to them by their key — see the Model Adapters CLI reference.
model.yaml
config:
  connection_type: "custom_connection"
  adapter:
    key: "my-model-adapter"
Step 4: Test Model
Testing issues a sample request through the configured connection and adapter to verify that the model endpoint is reachable and the response is well-formed. To test the model before using it in an evaluation, see Testing models.
model.yaml
display_name: "OpenAI GPT-4.1 Nano"
key: "openai-gpt-4-1-nano"
description: >
  Fastest, most cost-efficient version of GPT-4.1 GPT-4.1 nano excels at instruction
  following and tool calling.
rate_limit: 60
task: "chat_completion"
config:
  adapter:
    key: "openai-chat-completion"
  connection_type: "custom_connection"
  url: "https://api.openai.com/v1/chat/completions"
  api_key: $OPENAI_API_KEY
  model_key: "gpt-4.1-nano"