Deploy on VMware vSphere
Deploy the AI Platform virtual appliance from an OVA on VMware vSphere using the vSphere Client.
Before You Begin
- Access to VMware vSphere with permission to create new virtual machines.
- The appliance OVA downloaded from the cloud Console.
- A host that meets the machine specifications.
Step 1: Download the Appliance Image
Download the VMware appliance image (OVA) from the cloud Console, under the Appliances menu.

Save the downloaded ZIP to a location your vSphere Client can reach, then unzip it.
Step 2: Deploy the OVF Template
Log in to the vSphere Client with an account that has permission to create virtual machines.
All vSphere features introduced in vSphere 8 and later are available only through the vSphere Client (web). The legacy desktop client supports the same feature set as vSphere 8.
Select File → Deploy OVF Template, browse to the OVA you unzipped, then select Next.
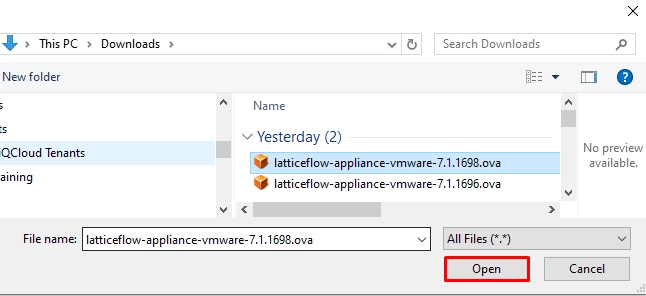
Complete the wizard:
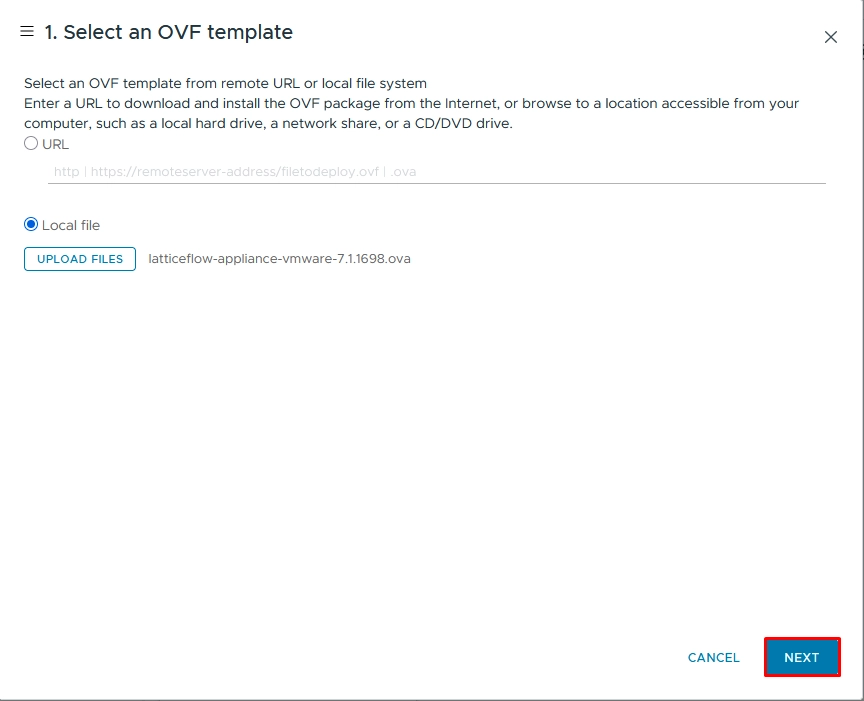
Step 2.1: Select an OVF Template
Enter a URL to the OVF package or point to the OVA on a local drive or network share. Verify the template details, then select Next.
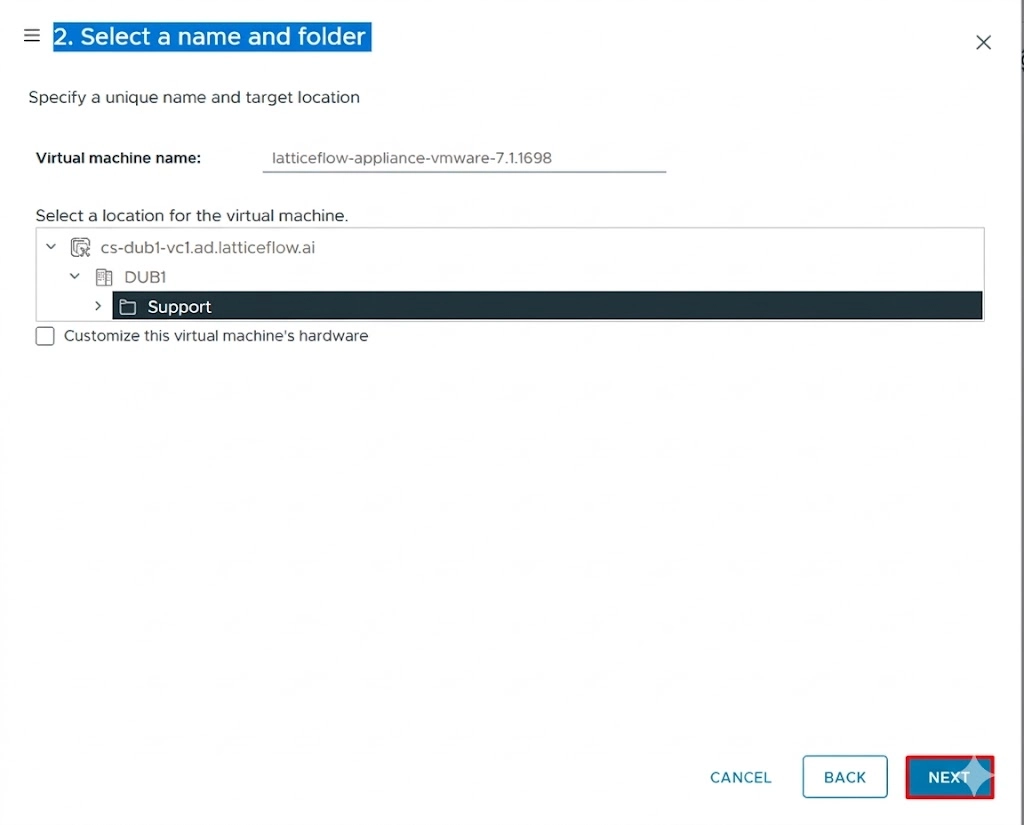
Step 2.2: Select a Name and Folder
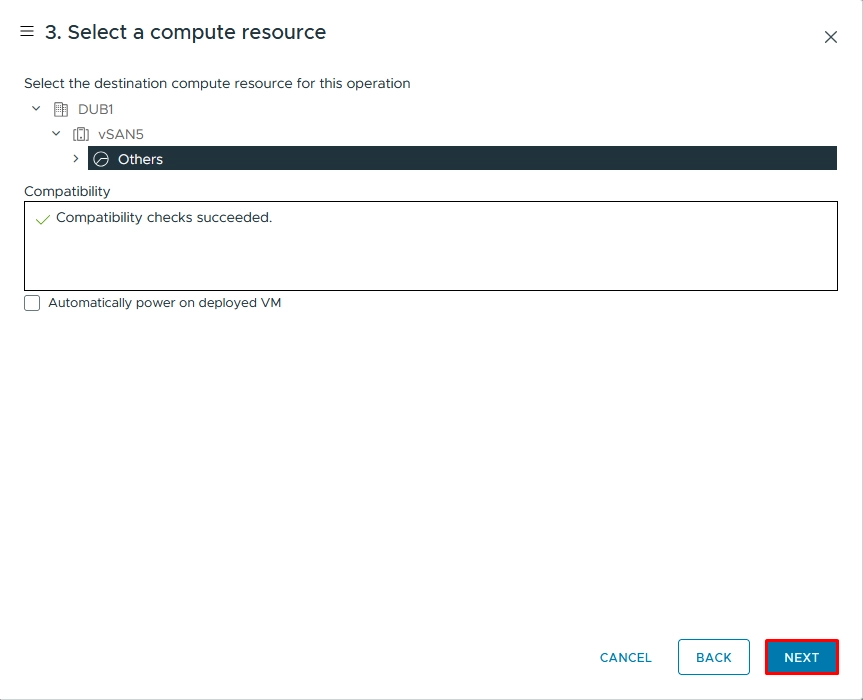
Step 2.3: Select a Compute Resource
Step 2.4: Review Details
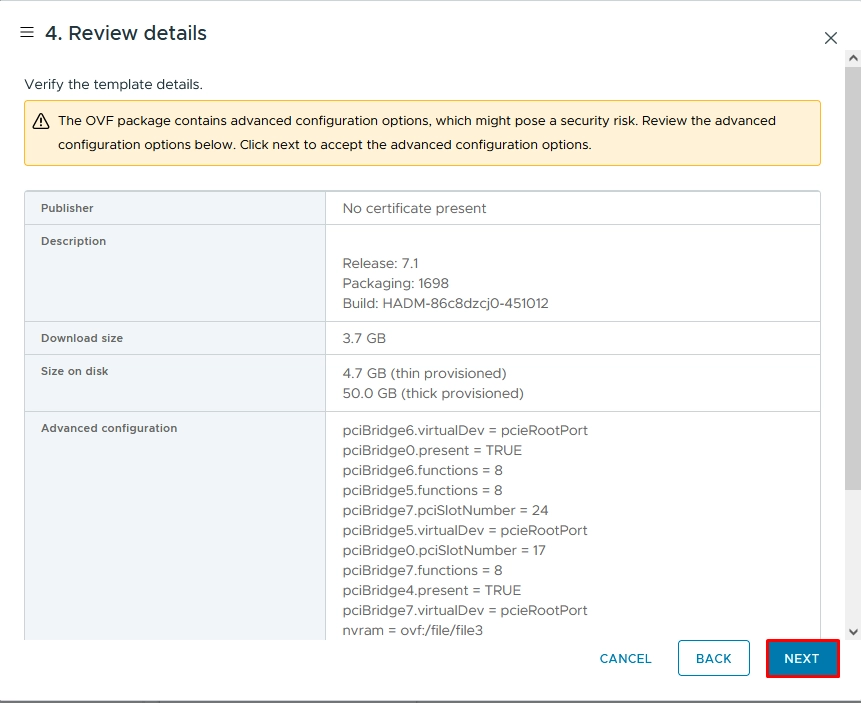
Step 2.5: Select Storage
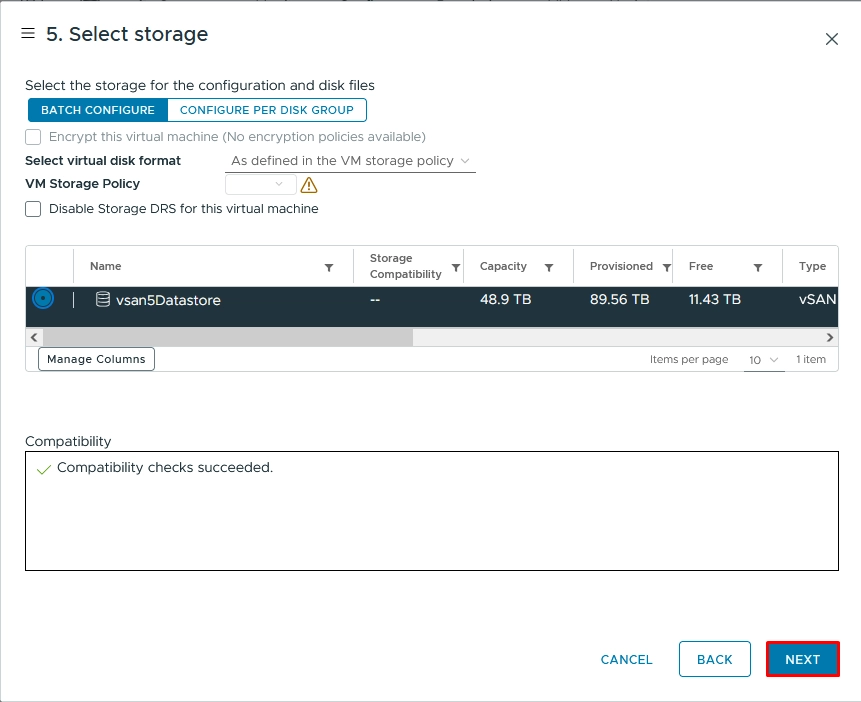
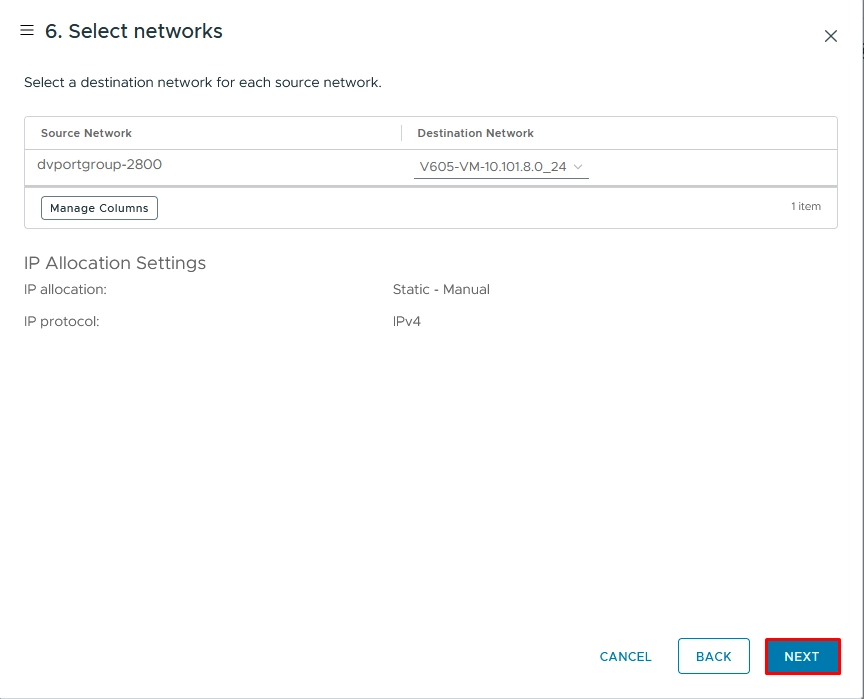
Step 2.6: Select Networks
Select a destination network for each source network, then select Next.
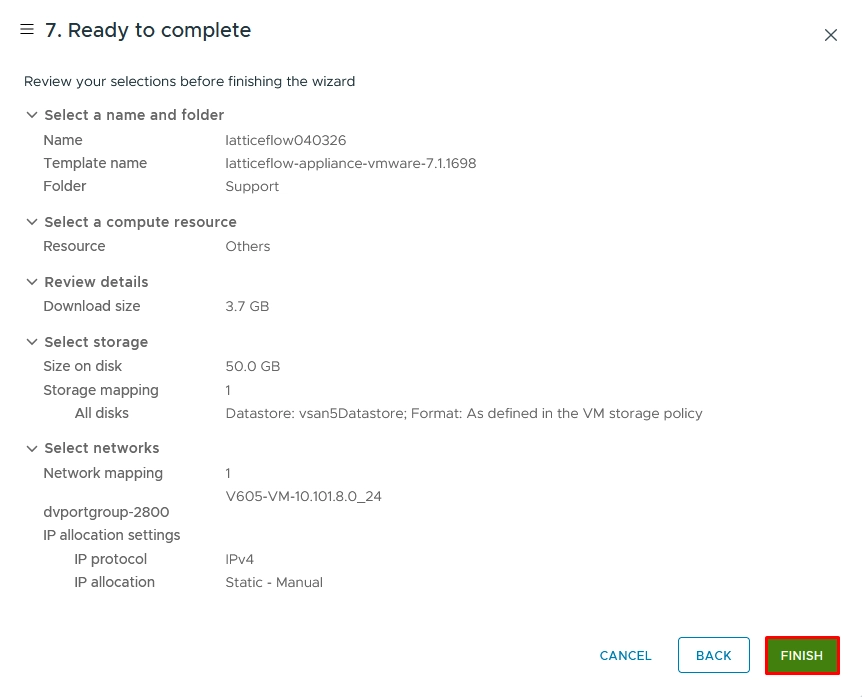
Step 2.7: Ready to Complete
Review your selections, then select Finish.
After the appliance is created, a confirmation appears and the new virtual machine is listed in the vSphere Client.
Step 3: Power On the Appliance
In the list of deployed virtual machines, right-click the appliance and select Edit Settings to adjust resources if needed.
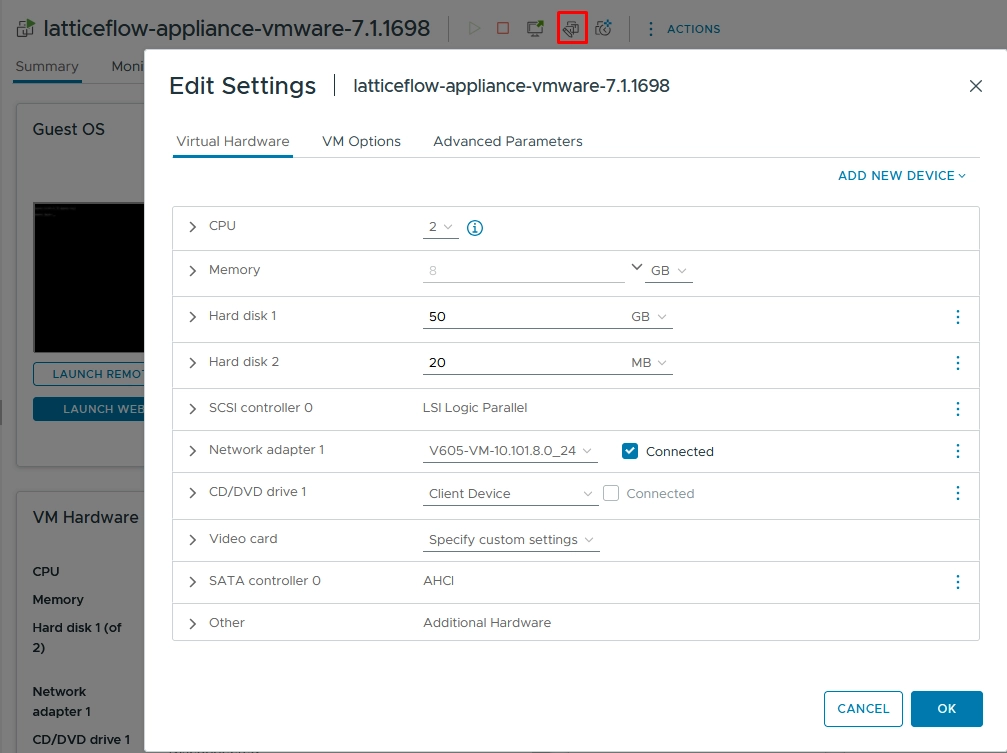
Right-click the appliance again, then select Power → Power On.
The appliance is now deployed. Next, configure the virtual appliance.